Even though it’s not hunting season, the summer is a perfect time to get your trail cameras set up and figure out where the game are travelling.
A good hunter is armed with as much knowledge as possible before heading into the woods, and one of the best ways to gain intelligence is through a trail camera.
RELATED: 7 Ways to Get the Most Out of Your Trailcam
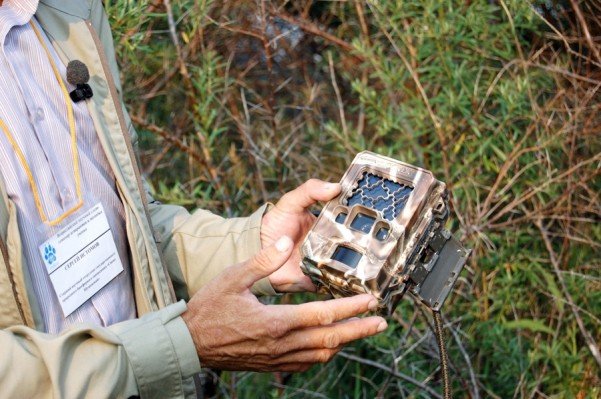
But in order to get the best images, whether photos or videos, there are several important things to keep in mind. Here are four tips to properly set up your trail camera.
Set in sign
Just like in trapping, you want to place your trail camera in a location where animals are likely to travel, so you don’t just want to put it anywhere. Choose a spot where you already see animal tracks.
Set at waist high
You want to strap your trail cam to a tree at about waist high so that it captures the widest area of range with the given focal length. Most of these cameras have a fairly wide angle view, but you still want to give the camera plenty of room to get the best shot. If it’s too low, you may see too much ground. Too high and you could miss low-lying animals.
Orient north to south
A big mistake in placing a trail camera is to orient the camera east to west. If you do this, you are going to catch glare from the sun in the morning and evening.
Turn it on
It might seem obvious, but you would be surprised how many people walk away from their trail cam without turning it on. So be sure to double and triple check that you flipped the switch.