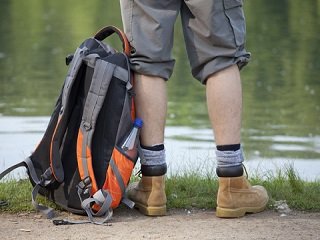
 With Spring in full swing, I’m sure there are many, many outdoors enthusiasts hitting their local retailer to pick up gear. A popular item this time of year is backpacks, which you’ll need for day trips or weekend excursions. Once you’ve got your backpack, you'll probably still need to make several adjustments to its fit before you hit the trail. Not everyone knows how to do this properly, though, so today we’ll take a look at this vital, but oft-overlooked step.
Before you start adjusting your backpack, be sure there is weight in it (15-20 lbs, ideally). Also, try to fill most of the volume by using sleeping bags and clothes. To begin adjusting, start by loosening the main straps, which include the shoulder strap load adjusters, shoulder straps, hip belt, and hip belt load adjusters. Next, put the pack on and fasten the hip belt, and then tighten the shoulder straps and the load adjuster straps. With the pack’s load situated higher up, readjust the shoulder straps as needed. Lastly, fasten the sternum strap, but not too tightly, to keep your shoulder straps pulled in. Keep in mind that the sternum strap is not designed to bear weight, but rather to keep your shoulder straps in place.
When it comes to adjusting your backpack’s fit on the go—shoulder straps are too tight, for example—there are a few more things to keep in mind. To accomplish this, loosen the load adjustment straps and shrug the backpack up on your shoulders. While the shrugging the load, tighten the hip belt. Lastly, relax your shoulders and retighten the load adjusters, if needed.
Often, hikers will feel uncomfortable on the trail without any clue that it may, in fact, be a backpack fit problem. Taking the time to properly adjust your pack before hitting the trail can reduce the need to do so once you’re hiking, but today’s tips will help you in both cases.


