Friction fire making is one of the oldest and most revered primitive skills. Fire made it possible for the human species to evolve and to continue evolving.
Somehow, somewhere, someone “rubbed two sticks together” and changed the world. The hand drill method is perhaps the oldest of all the techniques.
In theory, the method is simple; gather a couple of similar soft woods and create enough friction to ignite a coal.
Unfortunately, it’s not quite that simple. But like anything else, practice and “trial by error” almost always leads to success (or at least a sore back and a headache). There are a few tips that will enable you to practice and inevitably create a flame.
Make sure you have the right materials
First and foremost, you want something soft, and more importantly, something dry. A few options (depending on where you live) are Seepwillow, Mullein, Elderberry, Cedar or Yucca stock. Regardless, try to find a straight shaft (the drill part) that’s about 3/8th of an inch and about two feet long. For the fire board (the base), try to pick a similar wood and make it about as thick as your spindle.
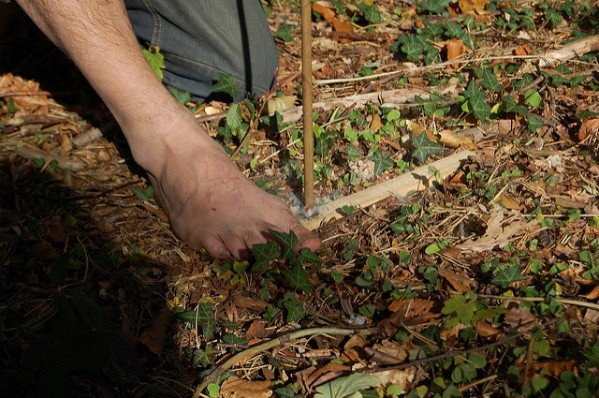
Technique
All friction fire techniques stress two major principles; pressure and speed. You need both (and a dry wood source) to be successful. I cannot tell you how to achieve the perfect combination but I can tell you that it takes patience and practice. Some students of mine got it right away while others struggled. Some that got a coal with the hand drill couldn’t get a coal with the bow drill (which is much easier). See my article on making fire with a bow drill.
Practice
Don’t overcomplicate what you’re trying to achieve. You are simply trying to create enough friction to ignite a coal. Proper stance depends on what’s comfortable and what creates enough downward pressure and speed to make smoke. Once you have smoke, you can refine your technique until it turns into an ember. Keep trying different methods until you succeed.
Don’t’ overdo it
Blisters and very sore hands are what keep folks from success. Walk away when you first feel pain and come back another day. If you don’t heed this warning, you will have super sore hands for at least two weeks and by then you’ll be starting all over again, frustrated at the very least.
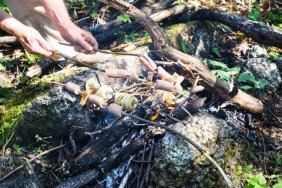
Cut a notch when you get smoke
If you can get smoke (a result of your spindle spinning on your fire board), then and only then should you make a notch for the ignited dust to turn into a coal. Don’t worry about the end result until you get the “pressure/speed thing” right. If you have successfully burned a hole in your fire board (base), then cut your notch.
The V notch
Basically, the notch allows the heated dust/char to collect on your fire board (combining with oxygen), and ignite. The V notch should be a cut which extends from the center of the hole you burned into your base outward at about a 60 degree angle (think of a slice of pizza). The notch fills up with dust as you spin and if you’re doing it right, it will make a glowing ember.
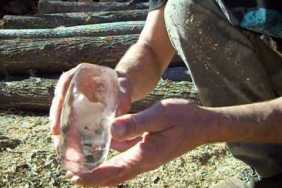
The ember
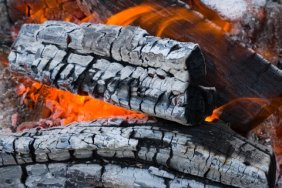
If you achieve an ember, you will know it by a small plume of smoke rising when you take your spindle away. Don’t freak out because that little ember will burn for a few minutes. If you’re prepared, you will have a tinder bundle to put it in and then you can blow it into flame. Achieving the ember is truly the goal of any friction fire method and you can now make fire.
In a nutshell, friction fire takes practice and perseverance. If you are diligent it and have some time to practice, you are on your way to perfecting one of the most important aspects of survival should you ever need it. Once you’ve achieved it, you will never be the same again.